AerotriX is the leading education provider in the field of Aeromodelling in India delivering quality services through hands-on, practical, application-oriented workshops, trainings, projects and internships. You can participate in any of the AerotriX workshops including Sphere Drone, RC Aircraft Design, Automobile Prototyping, Quadrotor, CFD, IC Engines, 3D Printing, Hovercraft, Ornithopter, Glider Making, Scilab, Delta Wing, Biplane Aircraft, Boomerang, Tricopter, CNC Machine using Arduino, .AerotriX offers the best quality training programs in India designed by IIT graduates. We conduct Workshops, Seminars, Summer Training and Internship Programs & Winter Training and Internship Programs all over India including
Agra, Ahmedabad, Amritsar, Bangalore, Bhopal, Bhubaneswar, Chandigarh, Chennai, Coimbatore, Dehradun, Delhi, Delhi - Noida, Dibrugarh, Gandhinagar, Gangtok, Goa, Guwahati, Gwalior, Hubli, Hyderabad, Imphal, Indore, Jaipur, Kanpur, Kharagpur, Kochi, Kolkata, Kollam, Lucknow, Madurai, Mangalore, Mumbai, Mysore, Nagpur, Patna, Pondicherry, Pune, Roorkee, Trichy, Trivandrum, Varanasi, Vijayawada, Visakhapatnam, etc...
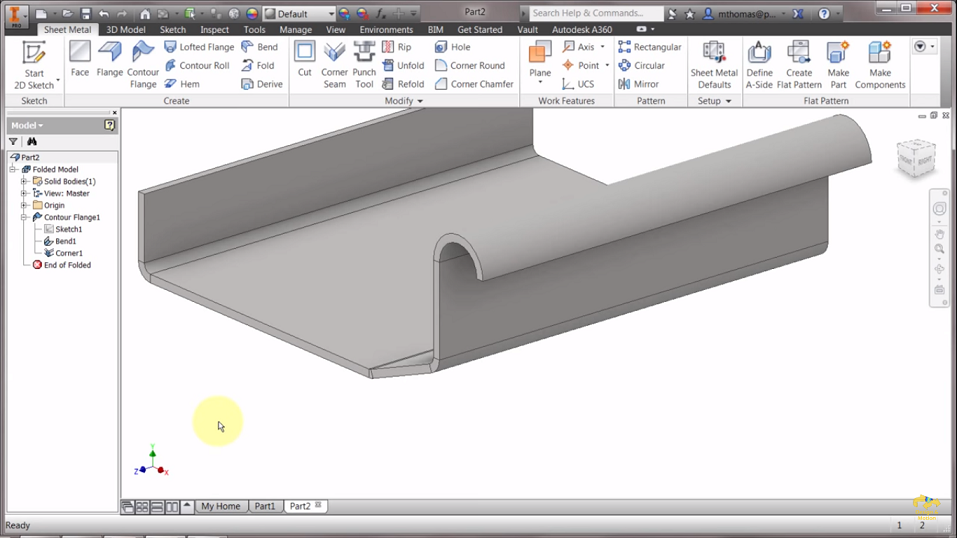
 Sheet metal is one of the most common raw material used by manufacturing industries to make various components. It is a type of metal which is shaped into various components by cutting, punching, stamping and bending. Sheet metal is known for its durability and easy handling. Using sheet metal you can make low volume prototype and can execute the fabrication more effective for high volume production runs.
