AerotriX is the leading education provider in the field of Aeromodelling in India delivering quality services through hands-on, practical, application-oriented workshops, trainings, projects and internships. You can participate in any of the AerotriX workshops including Sphere Drone, RC Aircraft Design, Automobile Prototyping, Quadrotor, CFD, IC Engines, 3D Printing, Hovercraft, Ornithopter, Glider Making, Scilab, Delta Wing, Biplane Aircraft, Boomerang, Tricopter, CNC Machine using Arduino, .AerotriX offers the best quality training programs in India designed by IIT graduates. We conduct Workshops, Seminars, Summer Training and Internship Programs & Winter Training and Internship Programs all over India including
Agra, Ahmedabad, Amritsar, Bangalore, Bhopal, Bhubaneswar, Chandigarh, Chennai, Coimbatore, Dehradun, Delhi, Delhi - Noida, Dibrugarh, Gandhinagar, Gangtok, Goa, Guwahati, Gwalior, Hubli, Hyderabad, Imphal, Indore, Jaipur, Kanpur, Kharagpur, Kochi, Kolkata, Kollam, Lucknow, Madurai, Mangalore, Mumbai, Mysore, Nagpur, Patna, Pondicherry, Pune, Roorkee, Trichy, Trivandrum, Varanasi, Vijayawada, Visakhapatnam, etc...
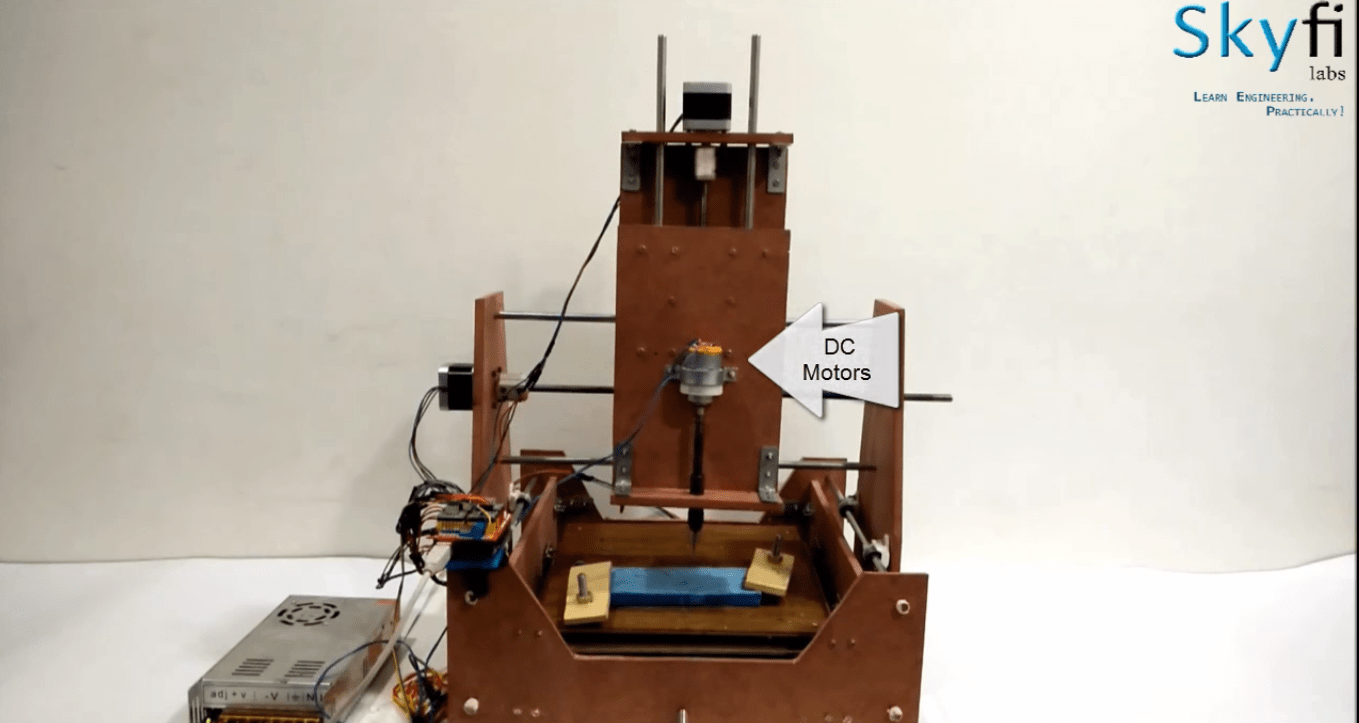
 CNC (Computer Numerical Control) machines are used in manufacturing industries to develop a product with more accuracy. CNC machine uses a subtractive method to fabricate or develop a product. In this Arduino project, we are going to develop a miniature CNC machine which can be controlled using Arduino.
